This Guide is for WordPress Version 2.8.5 but may be applicable to the older version.
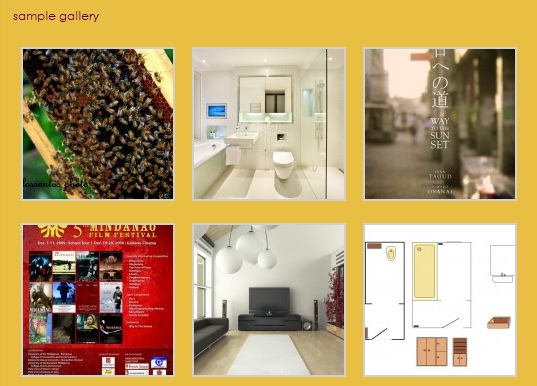
Some bloggers often get confused between Inserting Image into their post and creating an image gallery. When we say to “insert an image” to a certain Post it obviously meant uploading a certain image in one action. Creating a gallery occurs when you are to upload more than a single file within your post. The gallery is a collection of photos that are visible on your site.

Creating an image gallery into your WordPress blog is easy. Its process is actually the same with just uploading a single image directly into your post. However, you are uploading more than a single photo when you are creating an image gallery.
In your WYSIWYG editor menu, click on the “Upload/Insert Image” button.

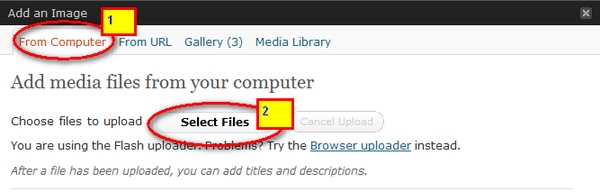
This would open a pop-up window revealing the “Upload Image” unterface. Supposed you are to upload a number of images from your computer: you hit on the [1] “upload image from the computer” tab. Then click on the “Select files” button. This enables you to select multiple photos that you want to be posted on your WordPress blog.
Once the uploading of images is completed, notice that the “Gallery” Tab is visible in the pop-up window.
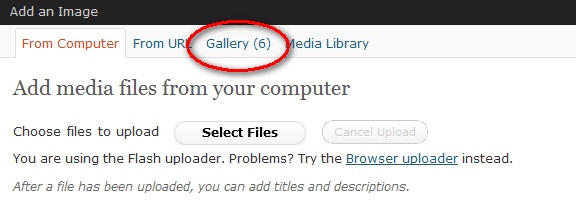
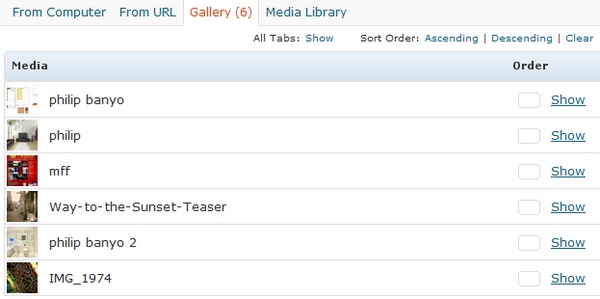
By clicking on the “Gallery” Tab, you can view the different images uploaded for your certain post.
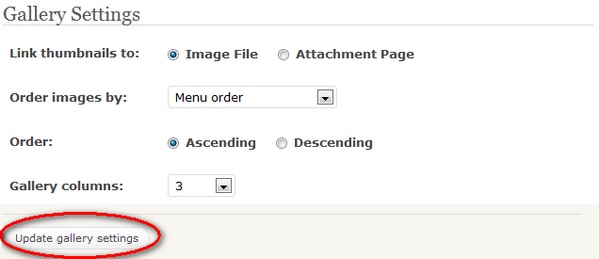
You can organize your gallery by organizing your “Gallery Setting” located just below the database of your recently updated photos. Once done with the necessary revisions, click on the “Update Gallery Setting” Button. This automatically update the Gallery Setting of your Post.
Once done, Publish the article and view the update of your post.
As simple as it should, you already have a gallery for your certain post.