This guide is intended for WordPress Version 2.8.5. but may also be applicable to older versions.
In the blogging community, links are very crucial especially in increasing one’s Page Rank. Also, creating a link section in your WordPress blogs enables you to have an easy access to other sites that are of interest to you. This is definitely a great way to interact with other bloggers in the blogosphere.
Setting up your Link Widget
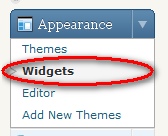
Setting up a blogroll in your WordPress is no sweat at all. You can easily create links into your site through setting up link widget into the sidebar of your WordPress blog. In order to do this, click on the Widget Button found just below the Appearance Menu button in your Administrator page. This would lead you to the Widget Menu area.
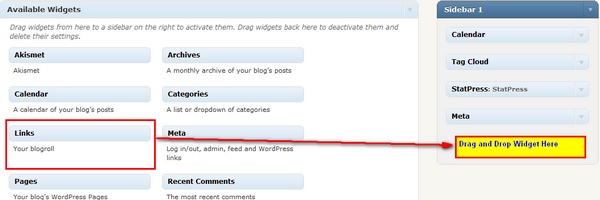
In the widget area, you would find different widgets available that are installed in your WordPress blog. Among these widgets you will find the “Link Widget”. Drag and drop this “Link Widget” into the sidebar on the right.
Notice that there are four options on how you would like your Blogroll or Links appear.
[1] “Show Link Image”. An Image of a certain link appears on your blogroll.
[2] “Show Link Name”. The name of the link appears on your blogroll.
[3] ” Show Link Description”. A description about the certain link appears on your blogroll.
[4] ” Show Link Rating”. Shows the rating of the certain link posted on your blogroll.
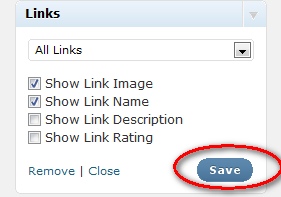
Check on the options that you feel would suit your preference. Then Click on the “Save” Button.
Adding Link into your WordPress blog
Suppose that you have already updated your widget, you are now set to add links into your blogroll. In your dashboard, click on the “Link Menu” Button and then click on the “Add New” button just under the link menu. This would reveal the “Add New Link” Window.

In the Add New Window you will be asked to key in necessary information about a certain link you want to be posted into your site:
[1] “Name”. You need to enter the name of the certain blog you want to link into your site.
[2] “Web Address”. Enter the web address of the site that you want to appear in your blog.
[3] “Description”. Write a short description about what the site is all about.
[4] ” Category”. This is actually optional. But should you need to categorize the links posted on your blogroll, then you would be needing to fill in necessary information in the categories menu in the “Add New Link” Window.
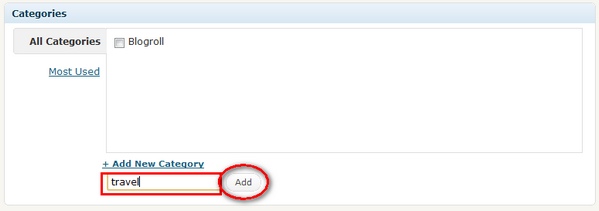
Notice that after you click on the “Categories” Menu, it will reveal list of categories that are present in your blog. If you wish to add this certain site into a new category, all you need is to click on the “Add New Category” link. A text box then appears enabling you to add a new category. Once finished, Click on the “Add” Button. This would automatically update your Blogroll’s categories.
[5] “Target”. Allows you to choose what frame you would want a certain link from your sidebar to be opened.
[6] “Link Relationship”. Specify your relationship with the link, whether it’s a colleague, favorite site, family, etc.
When finished, click on the “Add Link” Button located at the right corner of your “Add Link Window”. This automatically updates the blogroll in your blog.
Editing your Links
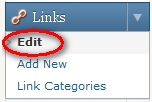
Should there be instances where you want to delete or edit a certain links in your site, you can edit it in your Dashboard. See below the “Edit” submenu under the “Link” menu tab.
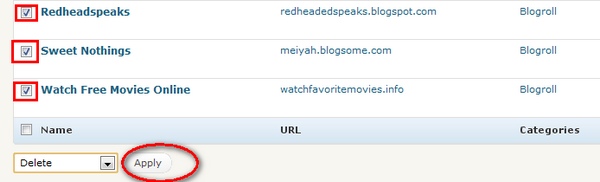
Clicking the “Edit” submenu button would reveal the Edit Links interface. You can easily delete a number of links by clicking on the “checkbox” of the links. Then choose “delete” in the scroll down menu and click on the “Apply” button.
Or you can delete it individually by clicking on the “delete” link located just under every link. Click on the “ok” button once the pop-up window appears. This would automatically delete a certain link.
![]()
However should you wish to edit a certain link you can easily do so by just clicking on the “Edit” link located just under every link.
![]()
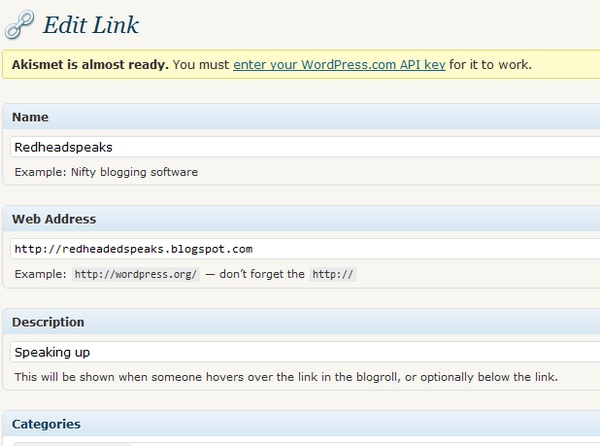
This would reveal the “Edit Link” interface where you can make necessary revision about a certain link.
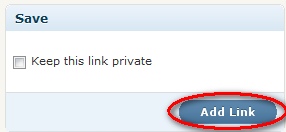
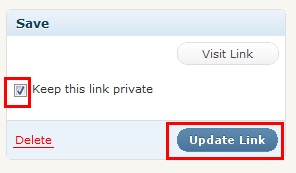
Suppose you have already made necessary revision about your link. You are now ready to Update your link. In the right corner of your “Edit Link” window, you’d find a “Save” Menu Bar. You can actually choose whether to keep this certain link private or let it be visible to public. Click on the “Checkbox” if you wish to keep this link private. Then hit on the “Update link” Button. This automatically updates your link.
It’s all that simple. You don’t need to complicate things when working with WordPress right?