Personally, I am very much inclined to read more about a blog if I see photos or images about the blog post. I think having an image along with your posts is quite an advantage.
Fortunately, WordPress have come up with a new innovation in uploading and managing media files such as images, videos and audios.
There are three options to choose from in uploading your Images to your WordPress blog:
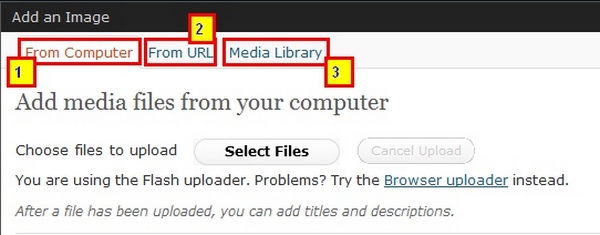
Upload Photos from your computer
You can choose the photo you want to upload by clicking on the “Select Files” button. This will lead you to your local drive on your computer. Select from the list of your images, what you want to upload. Once you click on the “open” button this automatically upload the picture you have selected (refer to image below).

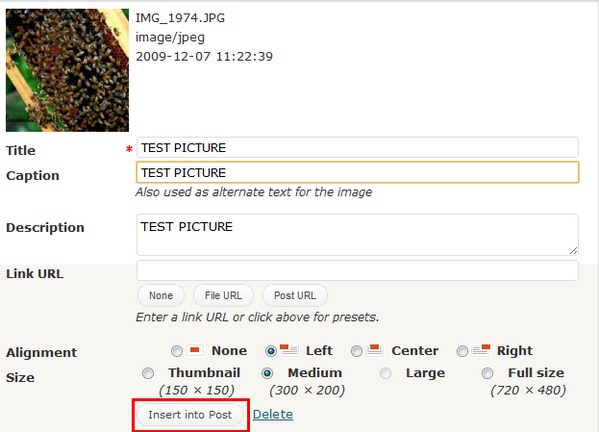
You can automatically add necessary descriptions of your recently uploaded pictures, or adjust its size and alignment depending on how you want these images to appear on your site. Once you are done with the necessary adjustments, click on the “insert to post” button (refer to image below). This automatically insert your photo into your post.
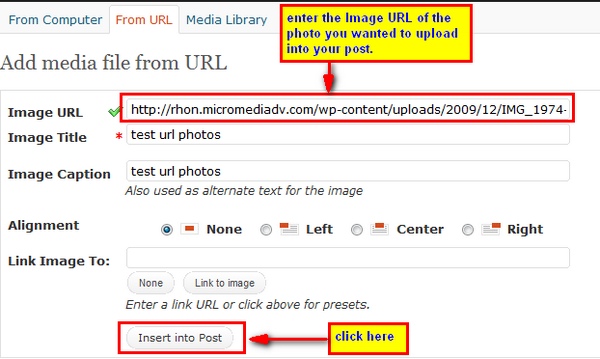
Upload photos from a certain URL
In the “Add Image” pop up window, click on the “from URL” link. This will lead your to another pop-up window, where you upload picture through a URL. All you need to do is to insert the image location of the photo you wish to upload. Make the necessary adjustments, and click on the “Insert into Post” button. This automatically insert the image into your post.
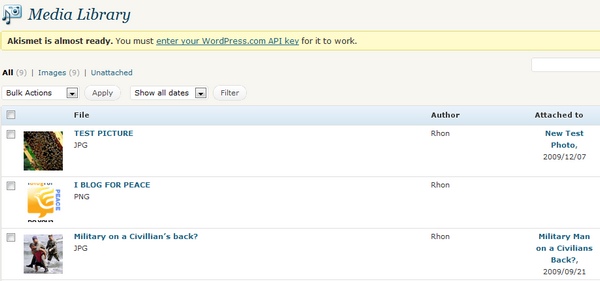
Upload/Insert photos from your Media Library.
After you have already uploaded your images, the photos you have just uploaded is automatically stored in your “Media Library”. To insert a photo from your “Media Library” into your Post, all you need to do is to click on the “Media Library” button in the “Add Image” window. This will lead you to the database of stored Media Files in your “Media Library”. Clicking on the “show” link will reveal the description of the images, as well as the “Title”, “Caption”, “Location” or even “size”.
As you observed, uploading and inserting photos into your post is simple. But you may not know how to use the “Media Library” in your WordPress site. The following guide shows you how to upload your photos into the Media Library.
How to Upload photos into your Media Library?
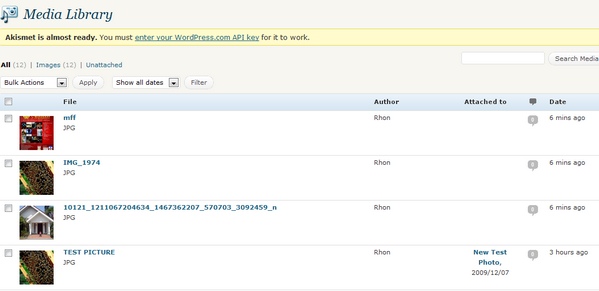
Clicking on the “Media” button in your Dashboard will reveal the database of all the photos that has been uploaded into you WordPress site, which is stored in the “Media Library” (see image below). The advantage of the Media Library is that it gives you the option to upload photo into you site, without having to insert it directly into a certain post.
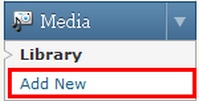
You can add photos into your “Media Library” by clicking on the “add new” button under the “Media” Menu.
This action shall reveal the following interface.
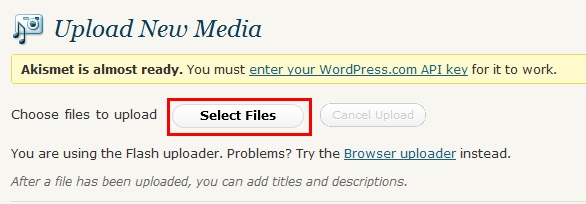
Clicking on the “Select Files” button allows you to select images from your computer that you wish to upload in your WordPress Media Library. One good advantage in uploading images directly to the Media Library is that you can upload more than one photo in just a single upload.
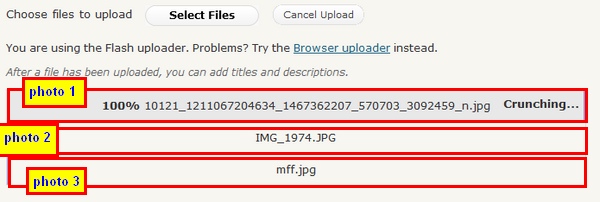
Once the uploading of pictures are complete, you can add descriptions of each photos by clicking on the “show” link located at the right portion of your image list. Once done, click on the “save changes” button located at the bottom of the window. This will lead you to the “Media Library” where all your uploaded pictures including the recently uploaded ones are stored.
Try using all these options which you feel can work effectively for you and see the difference.
2 Responses